HTML Headings
Think about any book you have read. What is the very first thing you see when you open it?
A title. One big title telling you what the whole book is about. Then inside, chapter names dividing the content into sections. And sometimes inside those chapters, smaller headings breaking things down even further.
Websites work exactly the same way.
Open any Wikipedia page right now and you will see this exact pattern. One main title at the top. Section headings like "Early Life" and "Career" below it. Smaller headings inside those sections going even deeper.
That is how information stays organized and easy to read. Now let us learn how to create headings in HTML.
The h1 Tag
Before we write any code, let us just see what a heading actually looks like.
You have seen <h1> already without realising it. Every time you opened a Wikipedia page, that big
bold name at the very top, that was an <h1>. Every time you visited a news article and saw the
headline, that was an <h1>. It is literally the most important piece of text on the page.
Now let us write one.
<h1>HEADING 1</h1>Just like every other tag <h1> has an opening tag and a closing tag. The forward slash in the
closing tag is the only difference. Everything between them becomes your heading.
Now let us add it to our Nadia page:
Click Try It Yourself to open the editor and experiment with the code.
Nadia
Nadia is a software developer and coding teacher.
The <h1> stands out clearly above the paragraph. Big, bold, impossible to miss. The browser knows
this is the main title.
The h2 Tag
Now say you want to add sections below the main heading. Think of it like chapter names inside a book. For that you
use <h2>.
Before we write it, you have seen <h2> before too. On that same Wikipedia page, those section
titles like "Early Life" and "Career", those were <h2> headings. Sitting clearly below the main
title, dividing the page into parts.
<h2>HEADING 2</h2>Now let us add some sections to the Nadia page:
Click Try It Yourself to experiment. Try changing the section names or adding a new
<h2>.
Nadia
Nadia is a software developer and coding teacher.
Early Life
She started coding at the age of 15 and never looked back.
Career
Today she helps thousands of beginners learn to build for the web.
The <h2> headings are bigger and bolder than paragraphs but smaller than <h1>.
Your page now has real structure.
The h3 Tag
Sometimes a section needs to be divided into even smaller parts. Think of it like sub-chapters inside a chapter. For
that you use <h3>.
<h3>HEADING 3</h3>Now let us add some subsections inside the Career section:
Click Try It Yourself to experiment. Try adding another <h3> subsection.
Nadia
Nadia is a software developer and coding teacher.
Career
Today she helps thousands of beginners learn to build for the web.
Teaching
She runs online courses for absolute beginners.
Freelancing
She also builds websites for small businesses.
<h3> is bigger than a paragraph but smaller than <h2>. Each level signals how
deep you are in the structure.
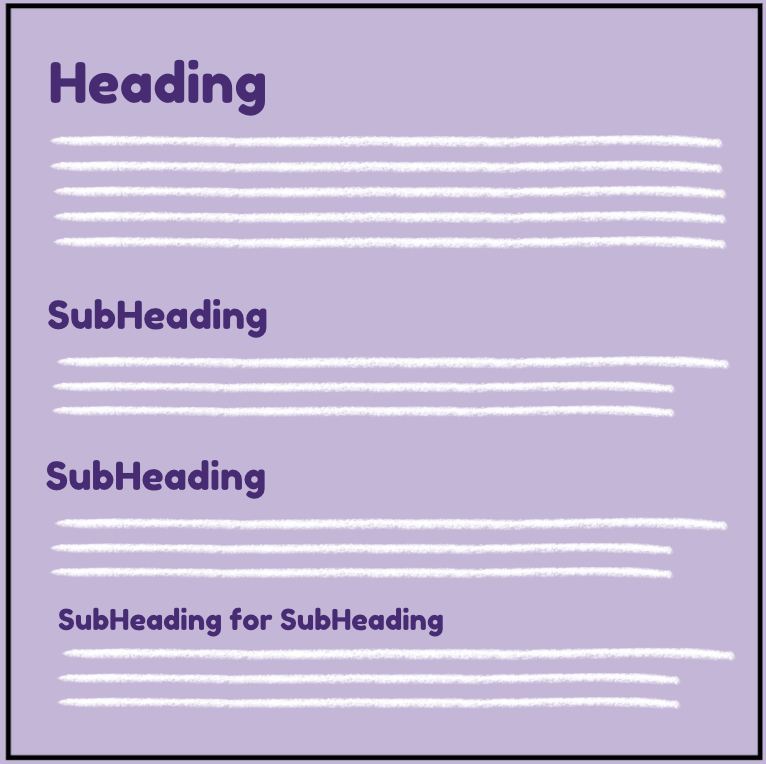
It Is Not Just About Size
Here is something worth pausing on.
Headings are not just about making text bigger or smaller. They tell the browser what each part of the page actually represents.
<h1>says this is the main topic of the entire page<h2>says this is a major section under that topic<h3>says this belongs inside that section
It is about structure, not just style. Because of that structure the browser understands your page clearly. Search engines understand it better. Screen readers can navigate it properly.
That is why using proper heading levels matters. Not just for the people reading your page but for everything that reads it.
A Few Rules Worth Knowing
Use only one <h1> per page. Just like a book has one title on the cover, your page has one main
heading.
Follow the order. Do not skip levels. Do not jump from <h1> straight to <h3>
without an <h2> in between. Keeping this order makes your page clean, logical, and properly
structured.
Always use headings in order. Never skip a level. <h1> then <h2> then
<h3> and so on.
What About h4, h5, and h6
HTML gives you six heading levels in total. Besides <h1>, <h2>, and
<h3> you also have <h4>, <h5>, and <h6>.
Each one goes one step deeper.
Click Try It Yourself to see all six heading levels side by side.
HEADING 1
HEADING 2
HEADING 3
HEADING 4
HEADING 5
HEADING 6
See how each level gets a little smaller. In practice most pages only ever need the first three.
<h4>, <h5>, and <h6> are there if you ever need deeper
structure but for most pages you build they will rarely come up.
Putting It All Together
Here is the complete Nadia page with everything from this lesson. Have a go at editing it, change the heading levels, add new sections, and see what happens.
Nadia
Nadia is a software developer and coding teacher.
Early Life
She started coding at the age of 15 and never looked back.
Career
Today she helps thousands of beginners learn to build for the web.
Teaching
She runs online courses for absolute beginners.
Freelancing
She also builds websites for small businesses.
Have anything to say about this lesson?
Your feedback helps improve these tutorials. If something was confusing or missing, let us know.